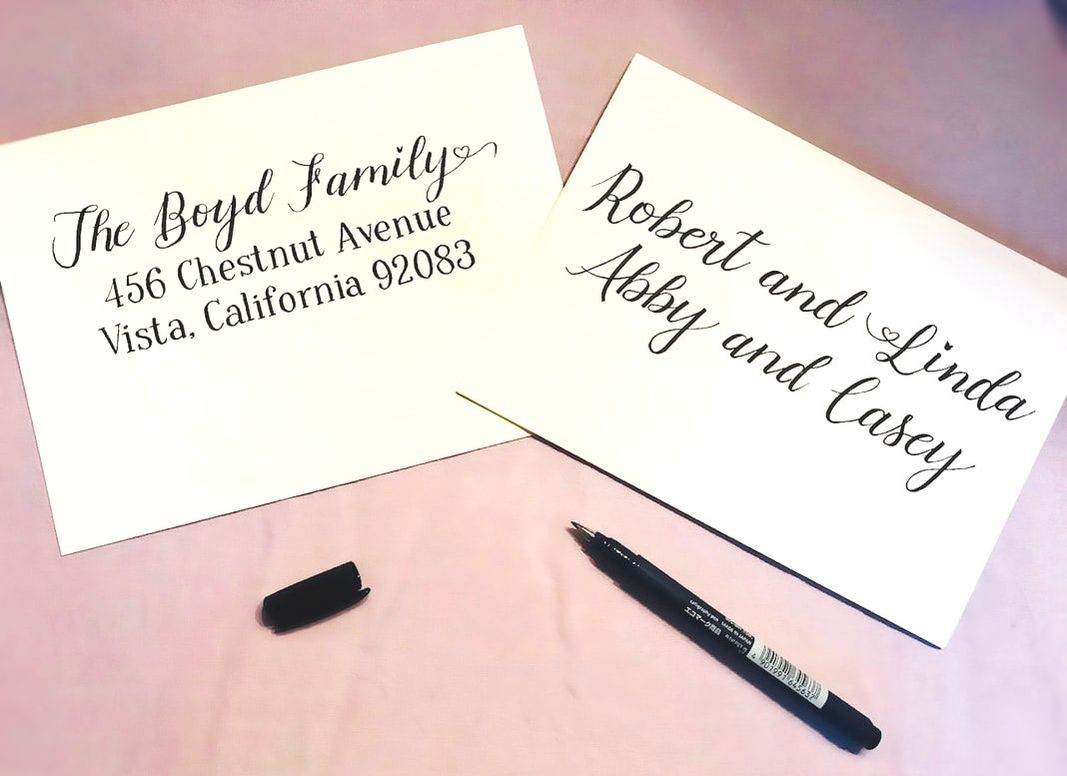
 I finally finished addressing my wedding invitations, and all out guests should be receiving them in a few days. Overall, address envelopes are an insignificant part of the wedding process. I didn't want to DIY major projects and risk ruining them, so this task was a fun thing to do to keep my mind off how close the wedding was actually coming. This DIY adventure started with picking out the invitations. Invitation picking was fun for me, though it was difficult to decide between the fun colorful or traditional route. I ended up finding some fancy looking invitations, with raised lettering and an embossed border, for a fraction of the price the big named companies were charging for simple ink on paper. (I also bought it at a time they were having a 30% promo.)  But once we had these fancy invitations, I felt that simply using a ballpoint pen to address them (like I did with my Save-the-Dates) was not going to cut it. So I looked into calligraphy for envelopes. On Etsy (my go-to online store for everything handmade), prices to have someone calligraphy wedding envelopes range from $1.50 - $4 per envelope. We had 125 envelopes that needed addressing, plus another 125 lined inner envelopes that came with our set. I wasn't willing to shell out $400+ more for something that was going to be thrown away. I did consider simply using a printer to print out a nice font on the invitations. Etsy has some listings for address templates with a calligraphy font for under $10, and I could easily have set up a mail merge to have it all print in less than 10 minutes. But if I was going to fake calligraphy, I wanted to fake it right (plus, I enjoy creating things). So my next step was to see how hard calligraphy could actually be. I watched a couple YouTube videos. (This one was my favorite.) I learned to basically get a fancy marker (I used the hard tip of this set; I bought the set to see which I would like better), then press hard on the downstrokes and light on the upstrokes. Simple enough. However, my handwriting can use some work. I suck at consistency. I can make one pretty letter, no problem, but I can't make a bunch of letters all be the exact same height and width without it taking me three hours per word and 50 sheets of crumpled paper. Luckily for me, back-lit laptops make tracing easy. I went on dafont.com to look at fonts, and I found their beautiful Lovely Day font. This font website allows users to type in a line of text and it will display it for you without having to download it. I went into a dim room (dark enough to let the light from my computer shine through the paper but light enough to see where my supplies were), placed the envelope over the computer, and traced out the letters. I could have done this without a calligraphy pen and filled in the thicker parts of the letters, but the calligraphy pen did make it a lot easier and fluid. 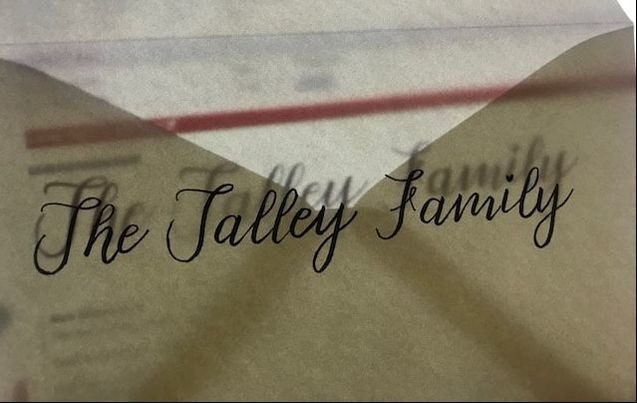 I found so many rules on how to address guests on envelopes and what to put on the outer vs. inner envelope. I ended up making a lot of my own rules. Typically, the rule is to have Mr. and Mrs. ManName LastName" on the outer envelope and "Mr. and Mrs. LastName" on the inner envelope for married couples. I found this tradition sexist, so I usually did "Mr. and Mrs. LastName" for couples on the outer envelope, and I used their first names on the inner envelope. I consider this method more modern. For families I wrote "The LastName Family" on the outer envelope. I wrote out each name of the family on the inner envelope, where I had more room since it didn't have the address. For single people, I wrote "Mr. (Ms.) FirstName LastName" then just did "FirstName LastName" on the inner envelope. For the addresses, I wanted to use a font that would be easy to read for the post office staff. I chose Oranienbaum. Straight lines proved MUCH more difficult than swirly ones, especially with a soft tipped calligraphy pen. I wanted to buy a chisel tip, but I was afraid the ink wouldn't match. I loved the way the calligraphy looked so much that I didn't want to go back now. (Plus, I did all the names before I got to the addresses and wouldn't have had enough envelopes to get through the rest.) I powered through it, and they turned out okay. I never want to write san serif font with calligraphy pens again, but I will continue to write calligraphy fonts with my new pens. In the end, I probably spend 5 minutes per set (the inner envelope with just names took less than a minute). For me, it was worth it, because I enjoyed the process, so it was time well spent. For 125 inner and outer envelopes I ended up needing 2 markers, so it was about $12 for both sets of the two calligraphy pens, but it could have been $9 had I bought the set of 5 hard tips in the beginning instead of getting the hard and soft set. Either way, it was much cheaper than the $400+ it could have been. Plus, I have some pride in being able to say I did it myself, even if I had some help. 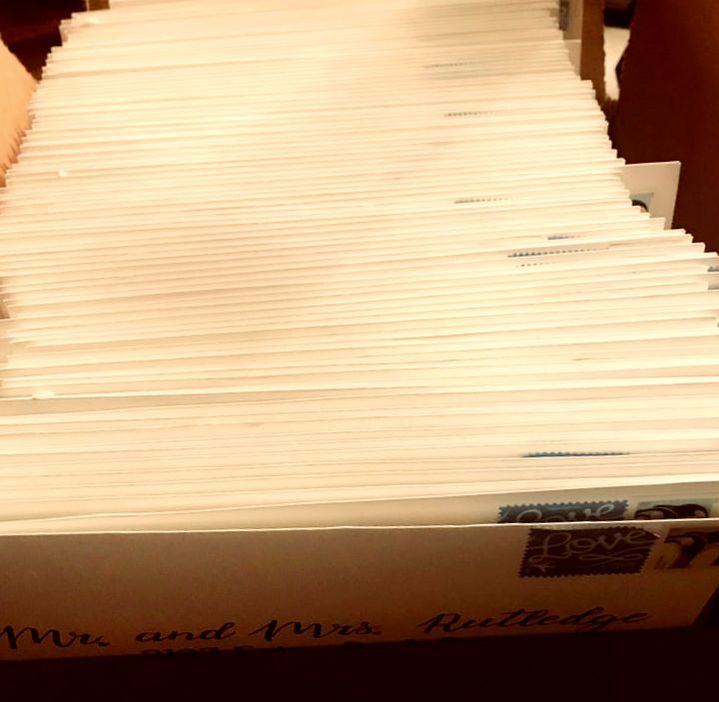
0 Comments
Leave a Reply. |
